Keto Cinnamon Rolls
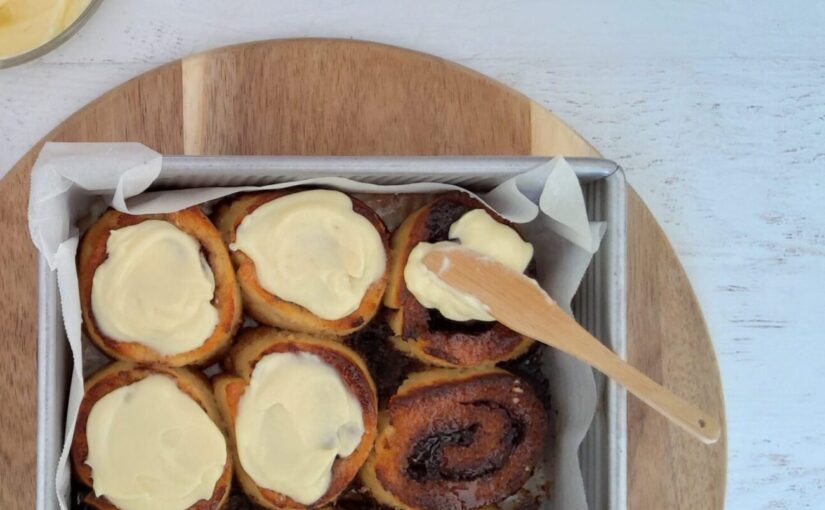
Keto Cinnamon Rolls
These simple to make keto cinnamon rolls taste have all of the flavor of the traditional recipe but without the carbs and the sugar. The recipes uses traditional yeast, to impart delicious yeast bun flavors and to help your rolls to rise. Enjoy as a treat with a cup of tea or coffee and they are also fabulous for breakfast on the run.
This recipe is not laden with cheese like other recipes featuring ‘fat dough’ so are a little healthier for you. I’m not sure about you but I get my fair share of cheese so when I can avoid it I will. Top these off with sugar free cream cheese icing/frosting, for the ultimate cinnamon roll. You’ve also got the option to simply glaze them- both options are included in the recipe below.

SUGAR FREE CINNAMON ROLLS
Made simply with almond flour, coconut flour, sweetener, baking powder, xanthan gum and/or linseed/flax seed powder, eggs, nut milk of choice and yeast, these buns bake up beautifully. Enjoy these fresh from the oven or let them cool and enjoy at room temperature. Freeze left overs for a convenient snack on hand. Allow to defrost and simply zap for a few seconds in the microwave.

BAKING TIPS
- Don’t overbake the cinnamon rolls.
- If dough is hard to handle, wet fingers slightly when rolling and pressing out onto the clingwrap to roll it out.
- Use the cling wrap to roll up your rolls for beautiful uniform buns.
- If you don’t have xanthan gum add 3 tablespoons linseed/flaxseed powder instead.
- If you prefer softer frosting, add a little cream to the frosting until you get it to the correct consistency.
- If you ice when hot/warm the icing will be more glaze like and melt. If you ice when cold the icing/frosting will be thicker.
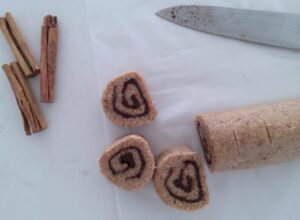
HOW TO ROLL OUT YOUR DOUGH
STORING INSTRUCTIONS
Store leftovers in a sealed container in the fridge for up to 3 days- if they last that long. To freeze, place room temperature cinnamon rolls in a zip lock bag or sealed container and store for up to 2 months. You can also freeze with frosting but it will make it more difficult to store them.
To reheat your keto cinnamon buns, microwave in short bursts until heated to desired temperature- generally about 20-30 seconds is sufficient.
MORE FABULOUS KETO RECIPES
Be sure to check out some of these other sugar free keto recipes-
Keto Raspberry and White Chocolate Muffins
Low Carb Mug Carrot Cake
Keto Choc Chip Muffins
Keto White Chocolate Macadamia Cookies
Keto Blondie Brownies
Keto Lemon Pistachio Cookies
Enjoy!!
Ingredients
- 170 grams almond flour/almond meal
- 35 grams coconut flour
- ¼ cup erythritol or sweetener of choice
- 2 teaspoons baking powder
- 1 teaspoon xanthan gum
- 2 tablespoons ground linseed/ flaxseed
- ⅓ cup 80 mls almond milk/nut milk of choice heated till warm but not hot
- 1 teaspoon vanilla extract
- 1 sachet dried yeast- 7 grams or .25 oz
- 3 large eggs
Cinnamon Filling
- 2 tablespoons butter softened - nearly melted but not liquid
- 1½-2 tablespoons cinnamon powder to taste!
- 3 tablespoons erythritol or sweetener of choice
No-Sugar Glaze Ingredients Option
- 3 tablespoons hot water
- 2 tablespoons granulated sweeter of choice
Cream Cheese Frosting Ingredients Option
- 3 tablespoons cream cheese full fat at room temperature
- 2 tablespoons butter at room temperature
- 3 tablespoons sugar free icing mixture or powdered sweetener of choice
- A dash of vanilla extract
Instructions
Make Your Dough
- Combine almond flour, coconut flour, sweetener, baking powder, linseed/flaxseed powder and xanthan gum in a medium sized bowl.
- Heat almond milk and vanilla extract until warm (about 20-40 seconds in the microwave). Add the yeast to the almond milk and stir to combine.
- Add the almond milk mixture and the eggs to the dry ingredients and stir to combine. Bring the ingredients together to make a round ball shape. Cover your bowl with a cloth or cling wrap, and set aside for 30 minutes.
Make Cinnamon Filling
- Melt the butter until soft but not liquid. Add the cinnamon and the sweetener to the butter and stir to combine. If you mixture is too runny, set aside in the fridge for a few minutes so it firms up to a slightly more solid consistency. If it firms up too much you can zap it until it softens slightly.
Create Your Buns
- Prepare a 9 " baking pan (round or square) by lining it with baking paper and preheat your oven to 190 C/374 F
- Tear off a piece of cling wrap, large enough to fit an A4 piece of paper on it with generous edges. Lay it out landscape length on the bench. Tear off the same size piece of baking paper and leave above your cling wrap on the bench.
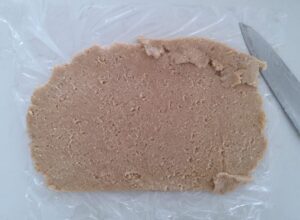
- Slide the dough onto the centre of your cling wrap and use a spatula to press it out to a rough rectangle. Place the baking paper on top of the dough and use a rolling pin to roll it out into a clean edged A4 rectangle. Remove the baking paper and use some cutting and pasting to get your dough rectangle nice and 'square'. If your dough is sticking, slightly wet hands can make it more easy to manage. You may need to reroll your dough using a rolling pin on the baking paper once more, for a final even shaping.
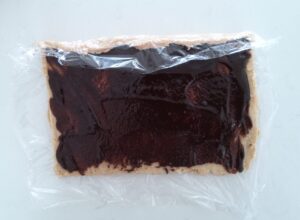
- Using a spatula, smooth the cinnamon butter all over the dough, leaving a fingers width along the long sides at the top and bottom but taking it all the way to the sides.
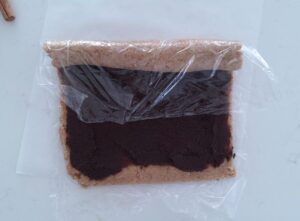
- From just above the top edge of your dough, grab the cling wrap and gently roll the first section of your dough over on top of itself, to start creating your roll. The aim is to create a snail like circle without too much gap. You may need to run your fingers along the top edge on the clingwrap to get what will be the 'centre' of your roll sitting properly, allowing you to roll it up properly.
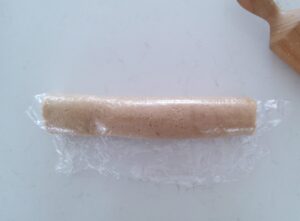
- Once the top edge is rolled over all of the way, pick up the cling wrap at the top about ¼ of the way in from the side edge, and pull down gently towards the bench, but actually bringing the dough back towards yourself. You want to press just firmly enough so that you get a roll without gaps but ensure it's not too compressed. Your dough should roll easily into shape. Once fully rolled up, press the dough gently along the long edge to form a seam.
- If you need to, you can press your roll into a better shape while the cling wrap is still holding the shape. If happy with the shape, remove the cling wrap so you can cut it into rolls.
- Roughly divide the roll into thirds and slightly mark the dough. Now using a large sharp knife, divide each third into 3 and slice through gently to create 9 rolls. Gently place each roll into your prepared baking pan, leaving room for them to expand.
- Bake for 20-25 minutes or until cooked through. If your rolls are browning too much, use a foil tent until your rolls are cooked through in the middle. Take care not to overcook. Remove from the oven and leave in the baking pan.
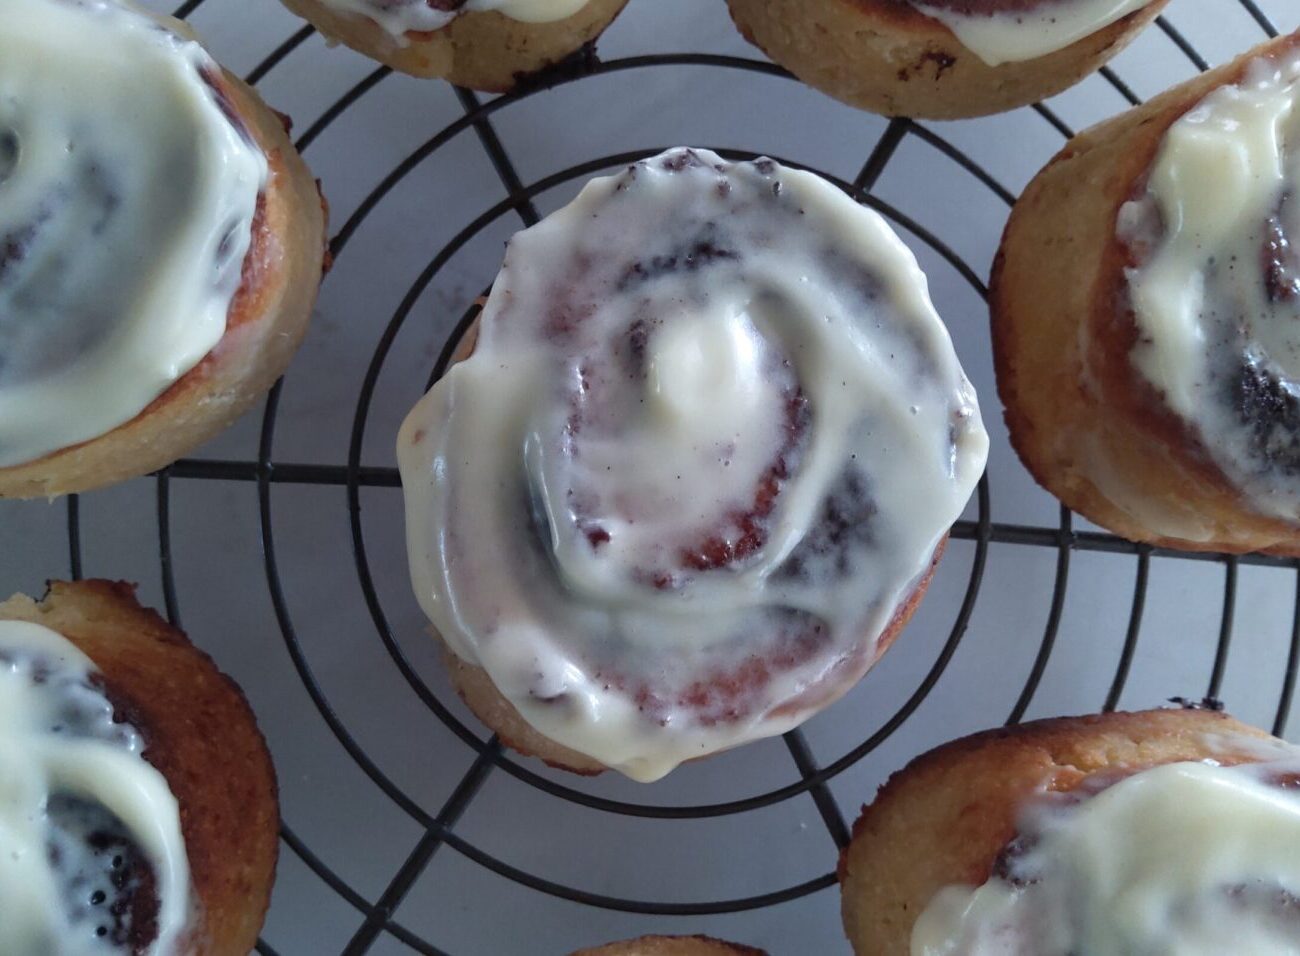
- If using a glaze, brush it onto your rolls while they are still hot. If you are using cream cheese frosting, you can ice them while they are still hot/warm for more of a glazed frosting, as it will melt due to the heat. Alternatively you can ice your buns once cool, to ensure your frosting retains a thicker consistency.
Make your Glaze or Your Cream Cheese Frosting
- To make your 'no sugar' glaze, combine the hot water and the sweetener together, stirring until sweetener has dissolved. Allow the mixture to sit until cooled before using.
- To make your cream cheese frosting, blitz all ingredients in a small food processor until smooth and creamy, or use beaters. If you prefer your frosting runnier, add a small amount of almond milk to the mixture and mix until well combined.
To Serve
- Enjoy your buns warm or at room temperature. They will last around 3 days in a sealed container in the fridge. I love to heat my buns up in the microwave on high for about 20 seconds prior to serving, especially if the have been in the fridge.You can freeze the buns, frosting, glaze and all for up to 2 months. Defrost at room temperature and heat up if desired prior to serving.
Recipe Notes
Nutritional Information

