Low Carb Creamy Baked Cheesecake
Low Carb Creamy Baked Cheesecake
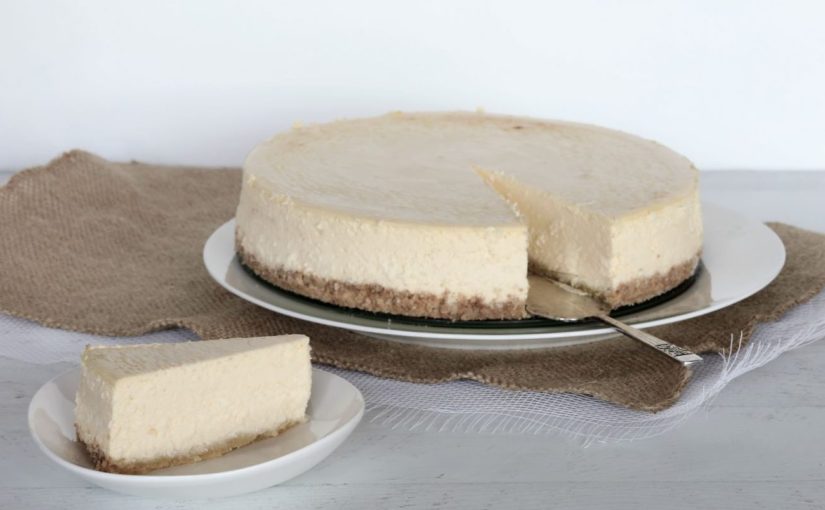
There’s nothing nicer than finishing a meal with a lovely piece of homemade baked cheesecake, especially if it’s inspired by a New York Baked Cheesecake. What makes that piece of cheesecake even more appealing is when it’s low carb and doesn’t contain any processed sugar, but no one would ever guess by the flavor as it tastes just like a delicious baked cheesecake should. This Low Carb Creamy Baked Cheesecake has the lovely texture of a baked cheesecake but still manages to be rich, creamy and smooth to eat, with just a hint of lemon.
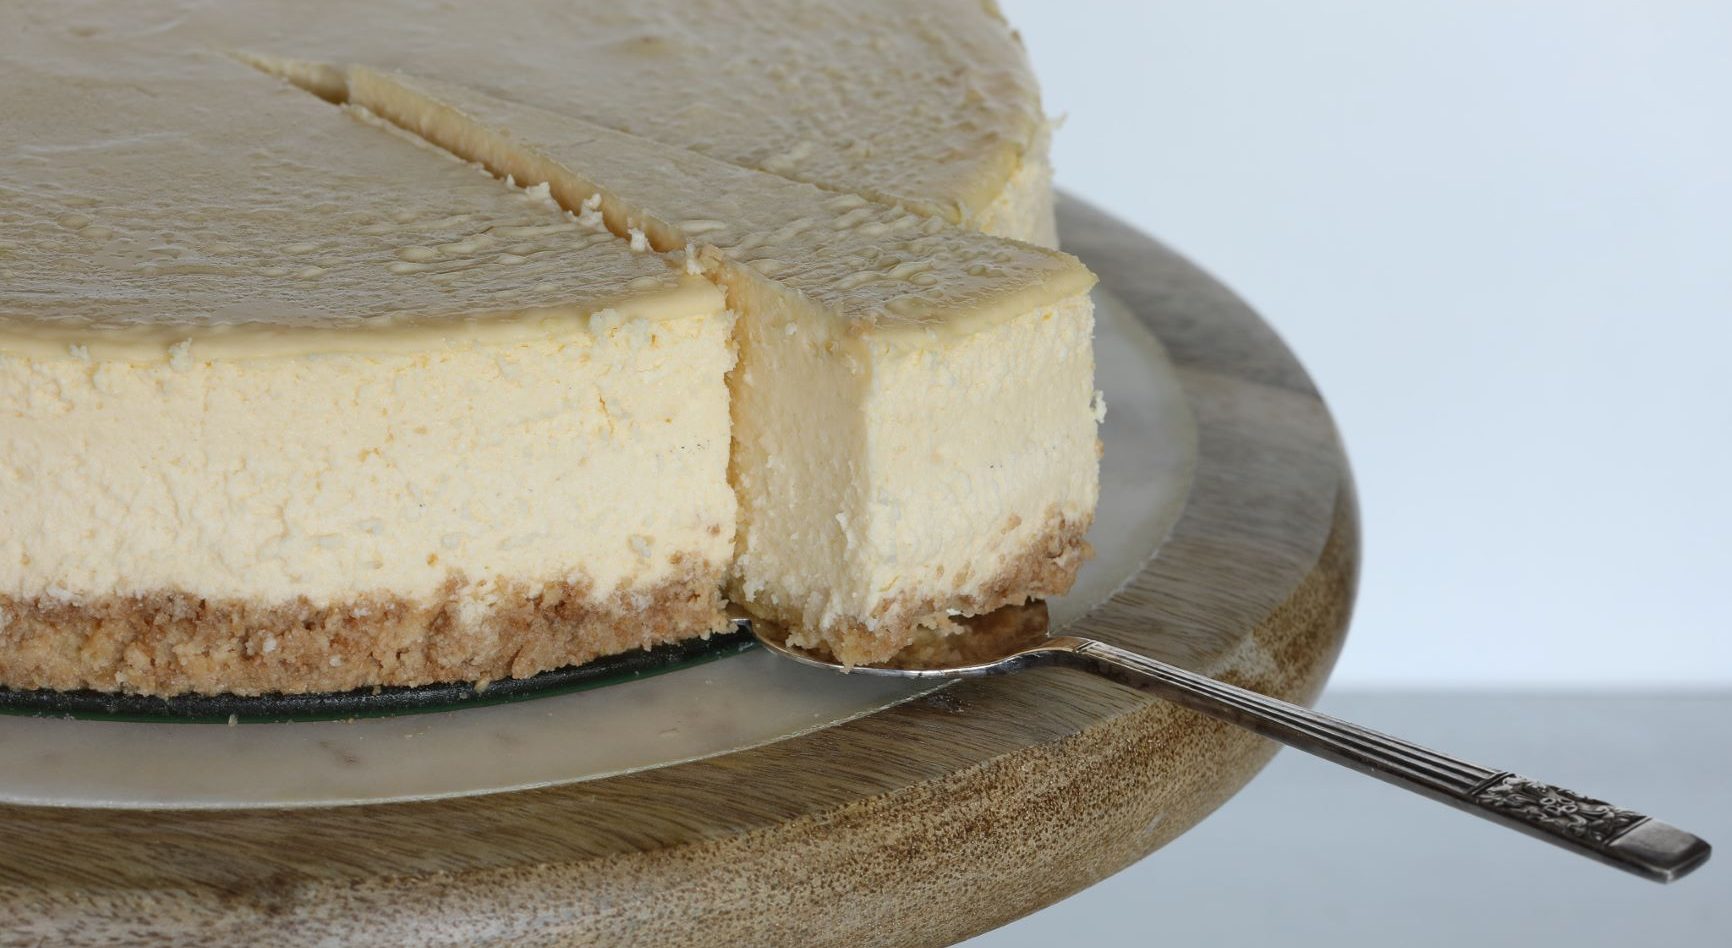
A lot of people struggle with baking cheesecakes, and I must admit, there is a bit of an art to it. You will find that baked cheesecakes vary a lot in looks and texture. They can be creamy or have a slightly drier texture and vary in color from a pale cream through to a darker color (which has possibly formed a bit of a skin and might have a cracked surface.) Now I will eat any cheesecake that is served up to me, as I love cheesecake however, the ultimate cheesecake in my mind, is pale in color and has a rich creamy texture without cracks in the surface.
Preventing Cracking and Browning in a Cheesecake
The key to achieving a paler, creamy cheesecake that doesn’t crack is all about temperature control. Bake your cheescake at a high temperature and it’s going to brown, probably rise and fall, and will form cracks on the top. Bake it at a lower temperature for a bit longer, and you are going to end up with a lighter coloured cheesecake, that is smooth and still in the shape that it was when you originally put it into the tin. To keep your cheesecake lighter in color, cover your cheesecake for a good amount of the baking time, and then remove it to allow a tiny amount of color towards the end of the cooking time. To guarantee a cheesecake that won’t crack, I highly recommend baking your cheesecake in a simple Bain Marie, which simply means that you cover your cheesecake in the spring form pan in a couple of layers of aluminium foil, before placing it in a slightly larger baking tray that is topped up with boiling water. Bake it for 70 minutes and you will have a lovely creamy cheesecake.
I recommend you bake your cheesecake covered for the first 30 minutes of baking, and remove the foil for the last part of the cooking to prevent the top from browning too much. You also need to leave your cheesecake in the oven to continue slowly cooking for 2 hours after baking. Open the door to the oven if you want your cheesecake creamier, or leave the oven door shut for a firmer cheesecake. Refrigerate your cheesecake overnight if possible or for a minimum of 6 hours before serving.
The Color of your Baking Pan
Did you also know that the color of your pan impacts on how quickly cakes can cook, and they can also encourage more browning in cakes and cheesecakes as well. So the tip to baking in darker pans is to reduce the temperature a little to reduce browning (or use a lighter pan in it’s place.) Darker pans will also encourage more doming in cakes and cracking in cheesecakes because of this fact. The pan heats up around the edges quite quickly and causes the cake to dome in the centre. With a cheesecake, it will cook around the edges first but not in the centre so will rise around the edges and then collapse once pulled from the oven, causing cracking in the surface.
I have included 2 cooking methods in the recipe, one using a really simple Bain Marie and the other method is just a standard baking method. Just be aware that if you bake it using the standard baking method that your cheesecake can crack on the top. Please also don’t let the words ‘Bain Marie’ turn you off cooking this cheesecake using my recommended method to bake this though, as it is really simple to do. Please also note that the cheesecake is going to continue to bake once you have turned the oven off, so it should still be jiggly in the middle. The outer edges should be firmer but movement in the middle is fine, as the cheesecake will firm up.
Sweeteners
Just a note about the amount of sweetener that I use in my recipes. As I am trying to reduce my sugar intake and wean off overly sweet foods, I do not use a lot of sweetener in my recipes, and they are designed to suit my tastes. If you are concerned about how sweet this cheesecake will be, then please taste the filling once it has been mixed, and only adjust the amount after that, if you feel that it needs additional sweetener. Note also that this recipe uses a Stevia and Erythritol blend which is sweeter than pure Erythritol on its own. If you use pure Erythritol then I would use about 3/4 to 1 cup in the filling, depending on the size of your sweet tooth.
I hope I’ve enlightened you on the 101’s of cheesecake baking. Please show me your efforts if you get around to making this delicious Low Carb Creamy Baked Cheesecake. I hope you have success and end up with a lovely tasting cheesecake. If you are after a really simple to make instant cheesecake recipe, make sure you have a look at these Quick and Easy Low Carb Cheesecake Pots. There is also a delicious recipe for Low Carb Tiramisu Pots that I recommend you try.
Kxx
Ingredients
Cheesecake Base Ingredients
- 1 1/4 cups almond meal or 1 cup almond meal and 1/4 cup finely chopped pecans
- 1 tablespoon coconut flour
- 60 gms /2.12 oz butter melted
- 1 tablespoon Stevia Erythritol Blend- optional or to taste
- A pinch of salt
Cheesecake Filling Ingredients
- 750 gms /26 oz cream cheese at room temperature
- 150 gms /5.3 oz sour cream
- 150 gms /5.3 oz heavy cream/pure cream
- 3 eggs
- 4 tablespoons Stevia Erythritol Blend or alternative sweetener/ or to taste
- 2 teaspoon vanilla extract
- The juice and finely grated rind of 1 lemon
Instructions
Cheesecake Base Method
- Preheat the oven to 175 C/350 F Fan Forced and liberally grease a 23cm/9" spring form pan on the base and sides. Line the base with quality baking paper if you wish to.
- Mix all ingredients together till blended. Press mixture firmly into the base of the spring form pan, using the bottom of a glass to press it down.
- Bake for 10-12 minutes or until base browns slightly. Allow to cool and wrap 2-3 pieces of aluminium foil up from underneath the pan to the sides, to ensure that no water can get in when the pan is placed in water.
Cheesecake Filling Method
- Turn oven temperature down to 150 C/300 F Fan Forced.
- Beat cream cheese till soft and creamy.Add vanilla extract, lemon juice and rind, sweetener, sour cream and cream, Beat till blended and creamy.
- Add the eggs and beat until blended, taking care not to over beat.
- Pour the filling over the base in the spring form pan, and smooth the top. Press down any lumps that are visible on the surface. Cover the top of the cheesecake pan with a piece of aluminium foil and press it down around the pan so it stays in place. Place the pan in a slightly larger baking dish and top it up with boiling water so that it comes about 1/2 way up the sides of the pan.
- Bake in the middle of the oven at 150 C/300 C for approximately 70 minutes, carefully removing the aluminium foil covering the top, after 35 minutes. The cheesecake will be firmer around the edges and still jiggly in the centre. *For instructions on baking in a regular oven see recipe notes below.
- Turn the oven off and leave the cheesecake in the oven for a further 2 hours, as it will continue to cook. Leave the oven door ajar for a creamier cheesecake or keep the oven door shut for a firmer cheesecake. Remove the cheesecake from the oven, making sure you remove the foil from around the base on the sink, as water may leach out of it. Run a knife around the edge of the cheesecake to make it easy to remove from the spring based pan when serving. Refrigerate overnight or for a minimum of 6 hours before serving.
To Serve
- Serve simply topped with fresh berries of choice and a dollop of freshly whipped cream. It's also tastes delicious topped with passion fruit.
- To make Berry Coulis to pour on top of the cheesecake- heat 2 cups of fresh or frozen berries of choice, with a squeeze of lemon juice and 1 tablespoon of Stevia Erythritol blend in a small saucepan on the stove top till soft. Turn the temperature up slightly and continue cooking until the juice reduces slightly and the liquid thickens, keeping a close eye on it so it doesn't burn. Mash the berries with a fork for a more textured coulis or blitz the berries until smooth in a blender/processor till smooth. You can sieve the coulis to remove seeds, or serve as it is. Pour over the cheesecake to serve and top with fresh whipped cream.
Variations
- Cheesecake Base Variations-Vary the type of nuts used in the base. Use a mix of ground nuts such as almonds and pecans or walnuts. Try switching out the almond meal for pecans or walnuts. You could also switch 1/4 cup of finely chopped pecans or walnuts for 1/4 cup of almond meal in the base for a more textured base.
- Cinnamon Cheesecake-Add a teaspoon of cinnamon to the base and sprinkle cinnamon on top of the cheesecake prior to serving.
- Berry Cheesecake-Add 1/2 cup of raspberries or blueberries, fresh or frozen to the recipe, folding through very gently after the filling has been made to prevent staining or poking them in to the cheesecake. Cook as per instructions.
Recipe Notes
Follow all other instructions as per the recipe above. Note that the cheesecake will be at risk to crack using this method but there will be no compromise on flavor.
Nutritional Information
14 thoughts on “Low Carb Creamy Baked Cheesecake”
Comments are closed.
A lovely recipe. No one knew it was low carb as it was lovely. A really creamy recipe and your tips are really helpful. Thanks so much for sharing.
Thanks so much for the feedback Lisa.
Cheesecake can be a bit of a challenge.
Karen
Best cheesecake ever
Thanks Chris. Thanks for making so many of my recipes.
Kxx
A deliciously light and tasty cheesecake. Great option to low carb. Thanks for the recipe Karen.
Thanks so much for the feedback Anna.
This recipe is amazing!! My husband loves it and he hates keto desserts. I had my non-keto co-workers taste test the cheesecake and they all said it didn’t taste “keto.”
So glad you all enjoyed it. Thanks so much for the wonderful feedback. I’m a bit of a cheesecake fiend myself. Xx